
Macro photography is the art of making things bigger than life. Macro photography enthusiasts get up close and personal with bugs, plants, and all sorts of other things that the human eye doesn’t always catch the best view of. And how do they do it? With the right gear and the right know-how. Try these seven tips for macro photography and bring your images to life!
1. Choose the Right Lens for Macro Photography
A true macro lens begins with 1:1 and nothing less. Therefore, the best choice is a lens with a short focusing distance. Your focal length will depend on what you plan on shooting, so keep that in mind before making a big purchase.
Additional Accessories: Add an Extension Tube or Diopter – Adding an extension tube or diopter are great additions to your macro lens or regular lens. An extension tube will fit between the rear mount of the lens and the camera body, which makes the lens focus closer. However, it’s important to note that extension tubes can be a bit trickier to handle, in addition to losing the infinity end of your focus range. Diopters are close-up filters, single-element lenses that look like magnifying glasses. Diopters can be screwed onto the front element thread.
2. Control Aperture
When it comes to macro shots, it’s all about the depth of field. A narrow depth of field is likely unavoidable, yet will produce a nice bokeh effect. You can also experiment with different size apertures. Remember: the smaller the f-stop, the larger the aperture and the more out of focus your background will be. An f-stop no larger than f/16 will get all or most of the main subject in focus, but many macro shots use smaller f-stops like f/2.8 or f/4.
The shots below were taken by macro photographer Mark Johnson.
 Snowflake by Mark Johnson
 Frosty Ladybugs by Mark Johnson
3. Use a Flash for Macro Photography
Often times when shooting macro, you’re working with natural light, which you work into your shot and compose accordingly. However, sometimes, you may be in need of more light than nature has provided. Be careful when using flash for macro photography though as your camera’s built-in flash may create a shadow or overexpose your image. An off-camera flash and adjusting your shutter speed will be the way to go.
4. Shoot Manual
You control the camera; don’t let the camera control you—and your photos. Today’s cameras can take some pretty great photos while in autofocus, but they can take even better ones when you shoot manual. Take some time to compose your shot and get your settings adjusted.
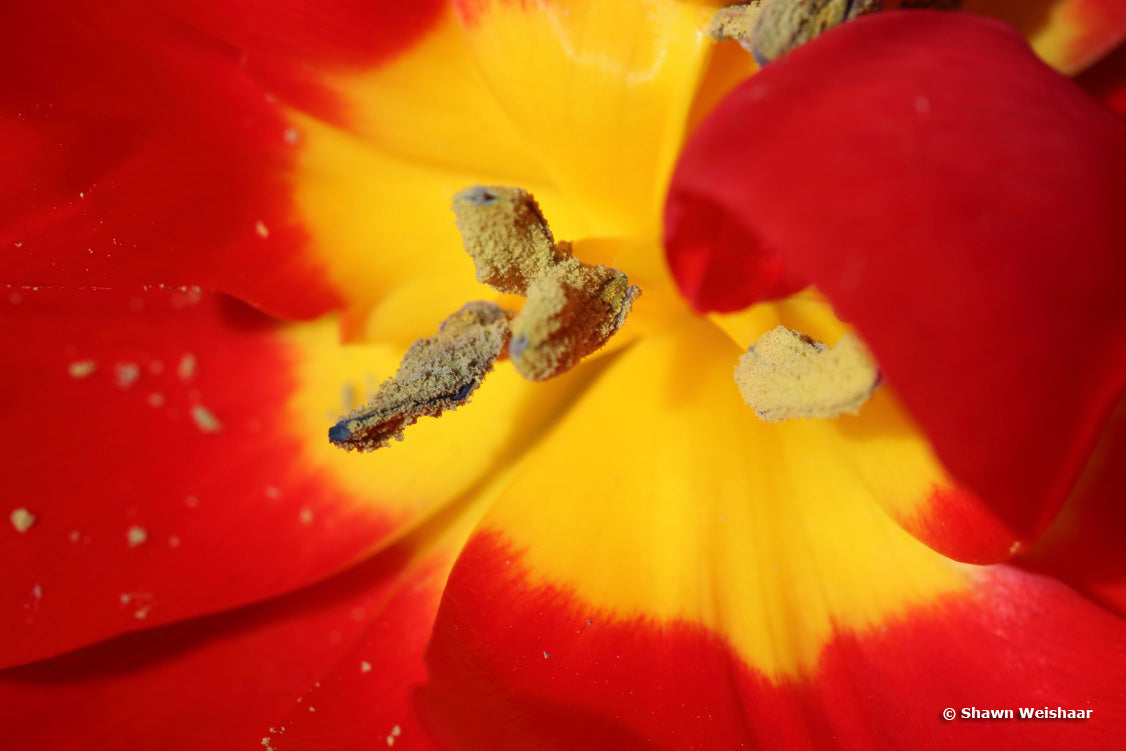
 Tulip by Shawn Weishaar
 Tulip by Nathan Sweet
5. Use a Tripod
The slightest camera shake or slip of the hand can ruin any macro shot. Invest in a quality tripod and other stabilization accessories like a cable release.
6. Compose Your Shot
Thinking about how you want your shot to look and understanding the factors that play into your photo are key. Try setting your subject against a darker/different colored, simple background, select a main point of interest for your shot, and experiment with different angles and lighting.
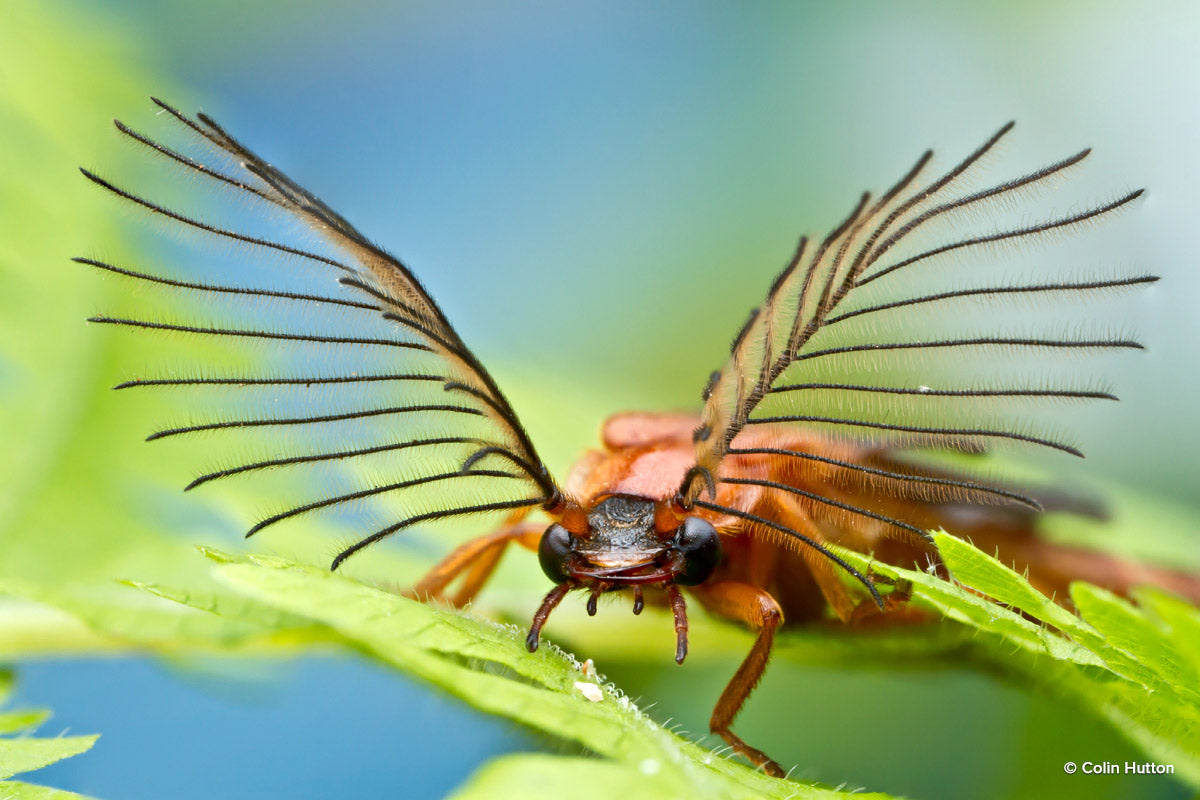
The photos below were taken by Colin Hutton.
 Colin Hutton
 Colin Hutton
7. Find Your Inspiration
Whether it’s small creatures, beautiful butterflies, blooming flowers, or abstract works, discover what it is that makes you want to get up close and personal. Happy shooting!