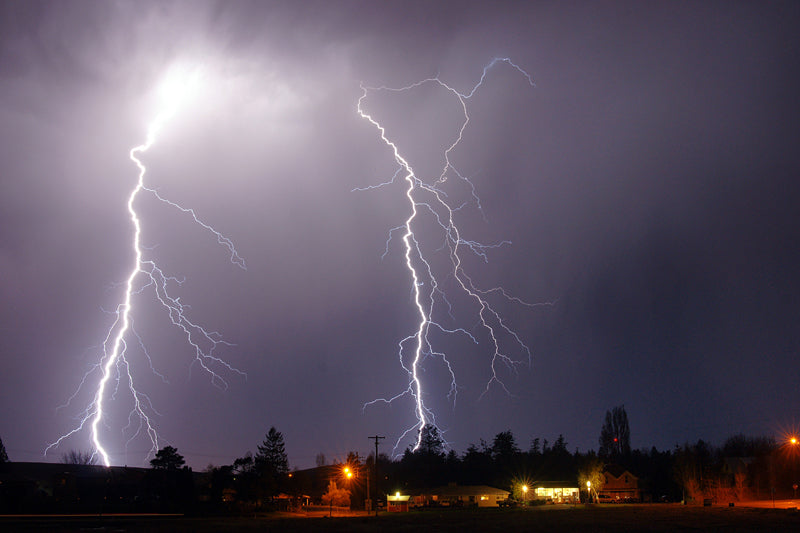
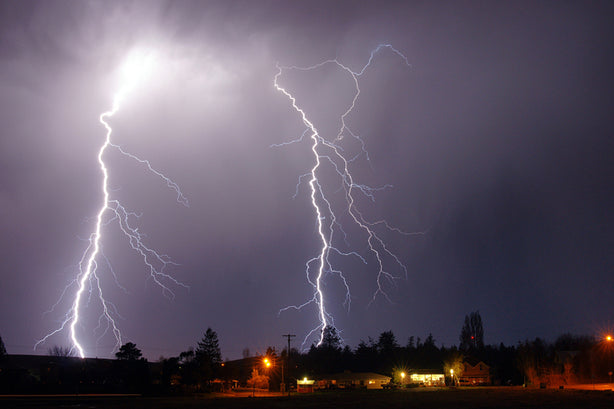
Kai Eiselein is a former newspaper editor/publisher who broke into the business as a photojournalist.
He enjoys shooting a variety of subjects, but has a particular passion for lightning photography. He currently lives in Moscow, Idaho. His images are licensed through Getty Images.
Kai Eiselein: "Lightning. We’ve all seen it, marveled at its power and beauty and, for some, feared it. As a photographer, you’ve most likely seen some stunning images of it and wondered how the photographer did it. Maybe you’ve even tried to capture some images of it yourself, only to come away frustrated, either empty-handed or with less-than-stellar images. Hopefully, the tips that follow will help you capture some "striking" images of your own, with a technique that makes it a bit safer.
SAFETY WHILE PHOTOGRAPHING LIGHTNING
"First of all, your safety is the top priority. Lightning is as dangerous as it is beautiful, and it can kill you. Standing in the open, with a camera on a tripod during a thunderstorm is not a good idea; I learned this the hard way when lightning struck about fifteen feet from me while shooting a storm. I was lucky to escape with nothing more than ringing ears and a mild jolt. Remember there is no "safe" distance from lightning. Since then, I’ve shot all of my storm photos from inside a metal vehicle, which, thanks to the "skin effect" of the metal body, provides a much safer environment than standing in the open. My setup is simple: I either mount my camera on a window clamp or use a tripod with one leg on the passenger seat and two legs on the floor and shoot out of an open window. Both have their advantages and disadvantages. The window clamp method is easier to maneuver and eliminates the worry of accidentally getting the mirror or door frame in the shot. The downside is that when it rains, the front element of the lens gets wet, requiring frequent wiping. The tripod method keeps the camera and lens dry, but limits large changes in framing without moving the vehicle due to the door and window posts.
BE PREPARED TO MOVE
"Like any other type of photography, shooting lightning takes practice and planning. First, learn how storms in your area move. Storms often track in the same general direction, and this knowledge will help you get to the best points to photograph them. Next, find several locations that will provide you the best views that are accessible by car and that have enough room to move your car around as needed without creating a danger to others or blocking traffic. Watch your weather reports. When the forecast calls for thunderstorms, get your gear ready. Thunderstorms often move very quickly, and you won’t want to waste time getting your gear together. The more time you have to shoot, the better your odds of getting "the shot." When a storm is coming, look at it to figure out which way it is heading, and look for areas where lightning seems to be most active. After making your observations, go to the location you think will give you the best view. Since many storms have areas where lighting strikes are more active, this is where you’ll want to aim your camera. These areas can change rapidly, so be prepared to move.
KAI'S CAMERA SETTINGS FOR LIGHTNING
"Now for the technical details: I shoot on manual, with the lens manually focused to infinity and the camera triggered via a remote cord. The number one question I get about my lightning photos is, "What settings do you use?" Unfortunately, there isn’t a hard and fast answer. Every storm is different, and my settings are based on what I see. I often change settings while shooting. As a baseline, I’d recommend a 20-second exposure at f/8 with your ISO set to 200. Check your display after you think you’ve got a strike and adjust as needed. My settings during the last storm I shot varied from 2.5 seconds at f/9 to 20 seconds at f/14, all at ISO 200. Over time, your experience will allow you to adjust your settings accurately. Remember to stay as still as possible for the duration of the exposure so your vehicle doesn't bounce and ruin it. As for lenses, I usually use my 24-40 mm f/2.8, if the storm is close and my 80-200 mm f/2.8 if I’m shooting from a distance. Of course, the wider the angle, the better your chances of capturing a strike in the frame.
BE PATIENT
"Shooting lightning is simple and maddeningly difficult at the same time. Lightning is fickle. It can seem to strike everywhere and then just stops. It strikes just outside the frame or right after the shutter closes or one big bolt overexposes what would have been a great image. Don’t expect to go out and get dozens of images from a storm. I often shoot between 200-400 frames and come away with less than a dozen usable photos. Sometimes, I get nothing for my efforts. The more you get out, the better your odds. There’s nothing better than coming home, loading your photos onto your computer, and seeing one shot that makes you say, "Wow, that’s cool!"
So here is a recap of what you’ll need:
A metal bodied vehicle
A tripod or window mount
A remote cord
Lightning trigger to fire your camera (if you are attempting daytime lightning shots)"
Stay connected to Kai: Flickr | Facebook
RELATED ARTICLES


