
So... you’ve got this awesome background full of city lights and warm colors, but every time you shoot one of two things always happens:
1) Your subject is fully exposed by the flash, but the background drops to complete black
2) Your background is fully exposed, but your subjects is completely silhouetted out.
It’s a real bummer isn’t it? Combing ambient light with portraits can be tricky, especially if there is a large contrast between the subject and background light sources, such as city lights and a flash.

The Process
This frustration can be minimized by following a few simple rules and steps.
Step 1: Set exposure for the background without the subject.
We want the background light to create a great ambience for our subject, so we’re going to set the exposure manually for the ambient light by slowing down or "dragging the shutter" to a longer shutter speed (typically slower than 1/80 of a sec depending on the circumstances) Don’t worry about going too slow as your flash will ‘freeze’ your subject regardless of how slow your shutter speed is. Remember to use a tripod if you don’t want the background to blur, but this can also create an interesting effect of motion and chaos.
You can use any F-Stop you like, just remember not to change the F-stop later on. I typically choose a large opening so that I can keep my ISO low and my shutter length somewhat reasonable.
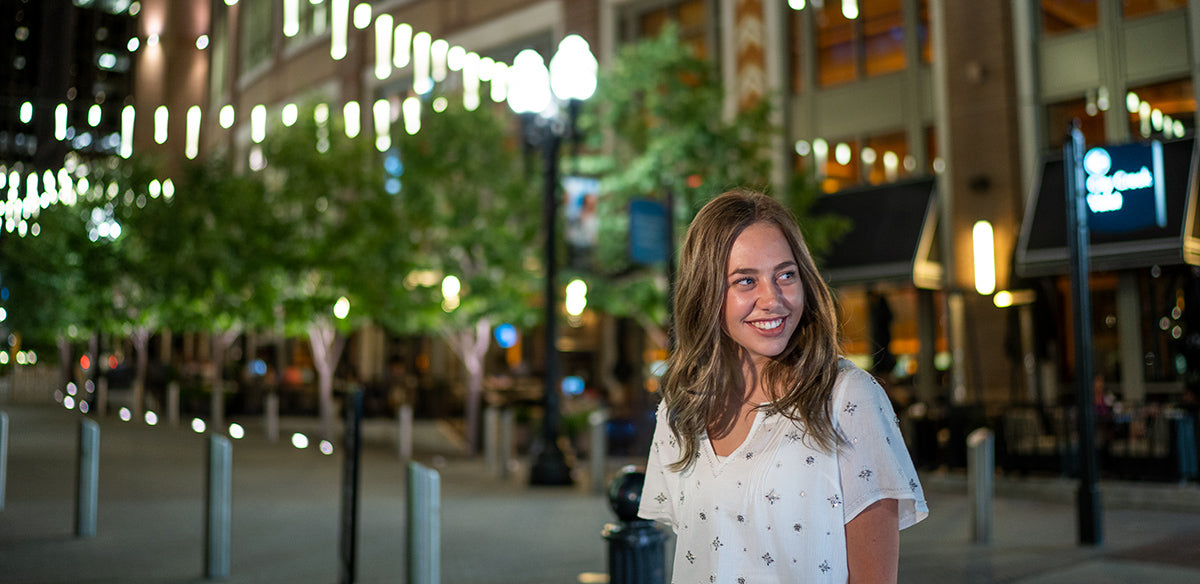
This is a great example of how the light source exposure rule works:
Shutter controls the ambient light
Aperture controls the flash exposure

PRO TIP: Don't be lazy! Do not use AUTO white balance!
Step 2: Manually set the white balance to match the ambient lights.
In this scenario, our ambient lights were tungsten, so we set our WB to match. Don’t be lazy and use AUTO, as your camera will automatically switch to flash WB when you mount the flash, or it will continue to change kelvin temperatures from shot to shot, making it difficult to control the color and overall look of your image. This is especially important when your’e mixing two different light temperatures.
Step 3: Establish flash power setting for your subject
Bring in your model and take a photo with the flash using TTL mode (Through the lens mode). In this mode, the flash automatically dials in the correct power intensity to create a correct exposure. It’s important to keep the same exposure settings (especially the F-Stop) that you used to get the ambient exposure for this step.
If you don’t have TTL mode, don’t worry, you can simply adjust the flash manually until your subject is exposed correctly. This may take a few practice shots to find the correct power setting.

Step 4 Use a gel to match ambient and flash light source temperatures (may combine with step 3):
Your subject is now most likely a different white balance than your background. Simply add a gel (in our case an orange gel) to the flash in order to match the color temperature of your flash to that of the background.

You may notice that adding a gel drops the flash level down a stop, simply increase the power, or open your aperture by one stop.
Now, you have successfully balanced ambient light with a strobe by dragging the shutter!