
Nearly everybody has had this experience before. You sit in an airplane, take off, and dive into a wonderful new perspective—staring out the window, passing through clouds, seeing the sun set and then rise again, seeing silhouettes of brightly lit cities pass by, street lights form patterns, grids, and beautiful shapes.
It is tight, your neighbor is snoring, the engines are crying - a baby in the last row is, too. Yet just having this bird's eye view down on our tiny planet can be so calming; at least in my head this is how the scenario plays out every time I get a window seat and spend a lot of time just looking out at the the world.
A few years ago I started shooting footage out of airplane windows instead of just gazing. I was mostly flying around the US at the time. The results, after some excessive post processing, were great. I captured some beautiful night shots, a great Miami skyline with epic clouds, suburbs covered in beautiful golden hour light, and packaged everything into the short video called "heimkehr."
Fast forward to 2013 . I was returning from a video shoot in California and had window seats booked for the flight from San Francisco via Salt Lake City to Philadelphia. The result of this flight is the video "Drift."
A lot of people have asked me about the technique, how I shot it, how I processed the footage, etc., and I would love to explain the whole process a bit more in detail.
To start off, all of the footage is shot handheld without any stabilizer or viewfinder on a Canon 5d mk3 with the 24-105 kit lens and an old school manual Nikon Nikkor 50mm 1.2 for the night shots.
The form factor of this DSLR is great. It allows you to get the best position and angle through the tiny bull's eye; at the same time, it is probably the least ideal camera, as it has a huge problem with the vibration and shakes that the airplane transmits, creating a rolling shutter wobble that cannot be fixed. Also, with the highly compressed footage the possibilities for grading are much more limited and need further treatment such as de-noising and de-flickering to control banding and noise. It is certainly not a painless process, but you end up with a somewhat pleasing end-result.
Let's go back to the beginning. The way I shoot is fairly simple: using a very flat picture profile (also known as pro-lost setting), 1080 30p, open aperture (to minimize the influence of the often scratched airplane window), the lowest ISO possible, and a fairly high shutter speed.
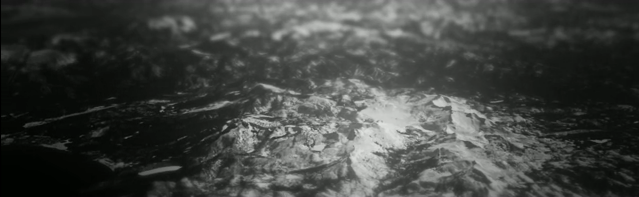
The result of the raw footage captured looks terrible. It is a super flat, desaturated, foggy, shaky, and pretty much useless video. Here are some examples of the raw Drift footage.
The first step is usually to figure out if a shot can be fixed or if its completely unusable due to the rolling-shutter issue.
Now this next part might get a bit boring, as I will just talk about software and post-processing. Just look at the embedded clips if talking about After Effects bores you. ;)
For the whole stabilizing and grading part I am working in After Effects. First, I set the interpretation from 30fps to 23.976 - it slows down the footage a tiny bit and therefore gives it a smoother feel. For stabilization I always try to use the plugin "Mercalli" by proDAD first - if the result is not satisfying I will give the built-in and much slower "warp-stabilizer" a chance. There are other ways to stabilize, especially for more complex shots, such as using Mocha 3d tracking, though that would take way too long, especially for this kind of quick-turnaround project.
After stabilizing the footage, the next step is grading. With Magic Bullets Look I create a simple, flat black and white image—with the After Effects levels and highlight/shadow tool I will get the right contrast and turn the flat shot into a nice looking picture. I used the third-party plugin "Lenscare" by Frischluft to add some out-of-focus, tilt-shift elements, and, last but not least, I have to de-noise the clip—Neat Video does a great job on that!
With all of the 1080 24p rendered clips the actual editing and cutting process in Premiere starts. For Drift, I chose a super wide Cinemascope frame-size of 1920x600—this gives it a super cinematic feel and also allows to re-frame the shot, as I can move it up and down and also add tilt movements in post (such as 00:12 min and 01:58).
That's it. After shooting less than an hour of raw footage and spending a few hours in front of the computer, including a never-ending search for the right music, this short video is finished.
I hope this is helpful to you in some way. Please feel free to reach out to me if you have any more questions.
You can find more of my films on my website: timsessler.com
and you can also follow me on Vimeo and Twitter.