
I’ve been an editorial/fine art photographer for 40+ years, but I came to this series by way of sculpture. My father did assemblage art from found materials, similar to Joseph Cornell. When I inevitably started doing the same sort of art, I used technological castoffs—circuit boards, hard drive platters, wire bundles. I would find boards that I liked but didn’t really have an assemblage use for, so I started photographing them. The little figures were from a long-forgotten art project.
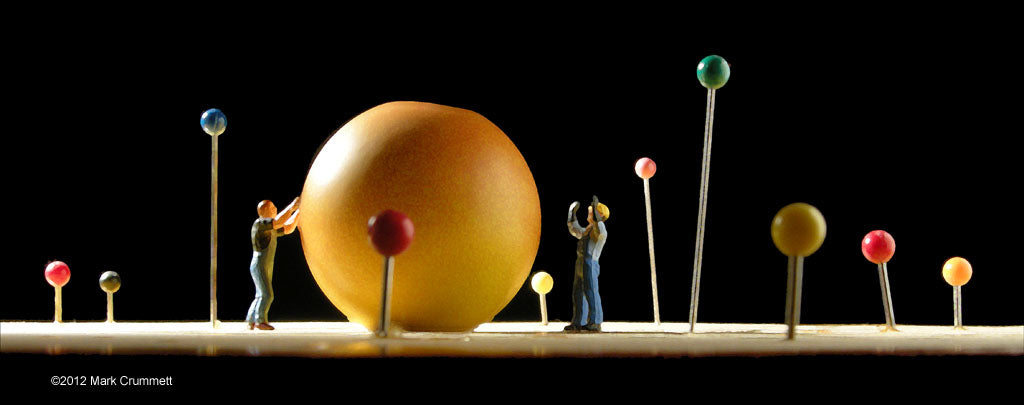
It’s a cliché to note that circuit boards look like cities, but I decided to populate that city. I found that the HO-scale people made anything they stood next to gigantic. Power supplies became industrial installations, heat sinks became the size of houses. They were a natural fit.


I used a black sheet as a background and shoot on black velvet so the boards seem to float in space. The "sets" I build are pretty small—they will sometimes fit in the palm of your hand—and usually lit very simply. I use a 100 watt florescent bulb in a swing-arm desk lamp (like the Pixar logo) fitted with a frame to hold paper barn doors. Its flexibility makes it very easy to experiment with lighting. Once I have the main light set, I’ll add paper reflectors to brighten up shadows. Sometimes I’ll use flex-neck LED flashlights to add a spot of light or lighten up a hard-to-reach area. Reflections from colored construction paper can sometimes add an accent color.
All of the Ghosts in the Machine have been shot with a Nikon Coolpix P5100, a top-of-the-line point-and-shoot, circa 2007. I like it because it’s small, so let’s me get it into hard to access space (more important for a different series. Not so much the Ghosts.); it focuses very close; and with its auxiliary wide angle adapter, it can really put the viewer into a scene, no matter how small that scene may be!
I shoot "quasi-tethered." The camera is attached to an LCD TV so I can set things up without peering into a tiny on-camera screen. I use a 2GB EyeFi card that sends the images to the studio Macbook in very close to realtime.
The only downside of the small camera is that the sensor is so small. In the early days of the Ghosts, I printed them with a lot of Photoshop work, partly so they didn’t look so literally like tiny plastic figures on circuit boards, and partly to help cover some of the digital issues involved with making big prints from a tiny sensor.


I like printing the "Ghosts in the Machine" series big—20x30, 30x40—because in many cases, it’s all about the scale. A bigger image further messes with your sense of scale of the scene. My newer work is more intimate and not so depended on scale, so can print pictures smaller. These days I’m printing 13x19—small enough to be less expensive and easier to handle, but big enough to have some presence.
Going forward I’ll be using a Nikon D5000 tethered using ControlMyNikon so I can play with focus stacking. CMN 4.1 is Windows-only, so I’m anxiously awaiting the Mac version!
What I’m doing is the opposite of tilt-shift photography. Tilt-shift is trying to make big scenes look small by narrowing the depth of field to a thin strip of sharpness. I’m trying to make small things look big, so need all the sharpness and depth I can get!
Here are a couple of things I’ve learned while shooting these things:
1) Get low. Photograph your scene from your character’s eye level, in my case 3/4" above the "ground." I’ve seen so many interesting images ruined by shooting from too-high an angle. Shooting from too high of an angle makes any scene look smaller. We're trying to give the impression of "big" so shoot up at your subject, no matter how small.
2) Light your scene to achieve maximum depth. I use a lot of back and side lighting, and reflectors to fill in the shadows. Shade the foreground for an illusion of more depth.
3) Your choice of backgrounds, props, and figures needs to make sense. There needs to be an internal logic to the scene. When I first started doing these images, it was enough to me to simply put a small figure on a circuit board. "Look! Scale!" But a long look at the images had me asking, why? Why is that guy standing on a circuit board? Big deal! I started asking myself, how is that figure interacting with the elements of the scene? Does it make sense for him to be there at all? Would this scene make just as much sense if it wasn't on a circuit board? If the answer was yes, then rethink the image.


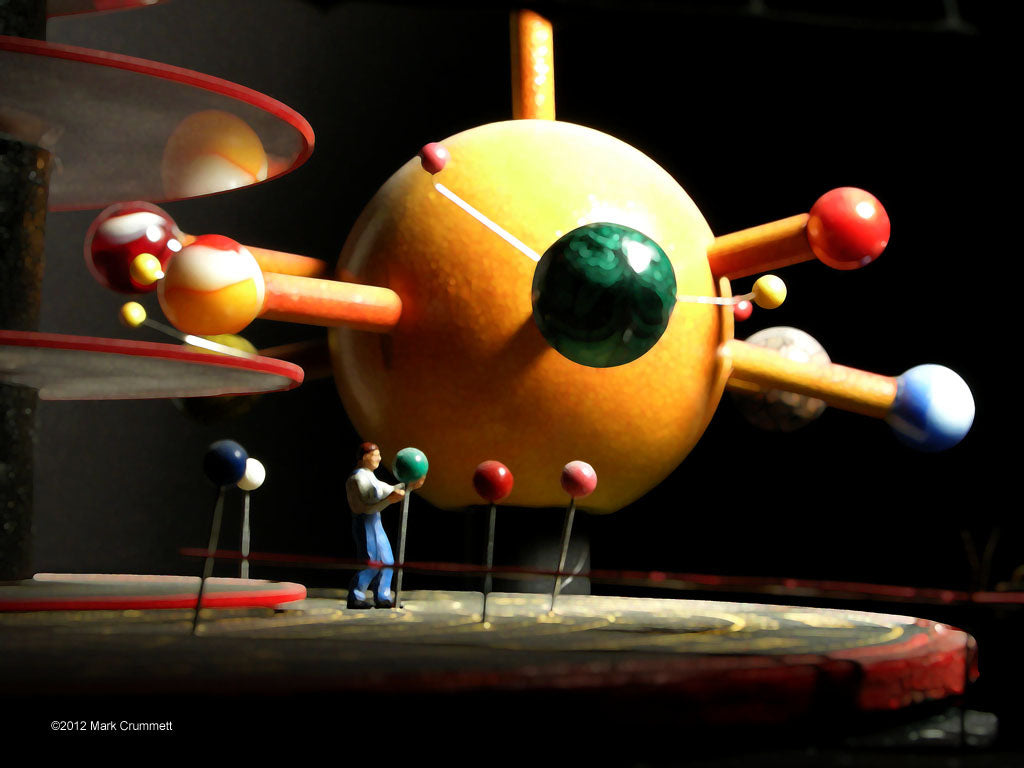

Again, in my early images, it was enough to simply play with scale—one figure on a board. But I had a weak epiphany one day. If you add another character, you have a story! So get your characters interacting with each other and their environment.
Going forward, I'm working to get the figures off of the boards and into more realistic settings, either of my scale or theirs. More to come!
KEEP UP WITH MARK: Website