
“Hi there! I would like to schedule an engagement session with you in that amazing field I saw on your Instagram Feed but...we’re super busy and the only time we have available is 1:00PM on Saturday afternoon. Can you make that work?” A quick check of the local forecast and it’s just as bad as you suspected: not a cloud in the sky.
We’ve all been here before. A client, or worse, a family member, asks you to take portraits of them during the exact time of day we all dread. The sun is directly overhead and shade is either nowhere to be found or of poor quality. Option #1 is to try and convince whom we hope is your paying client that the proper light for their photoshoot is more important than whatever commitment they’ve made for 6:00PM. That didn’t work? Option #2 it is. Yes! Believe it or not, there is a second option! Time to grab a disc.
Why do I need a reflector?
It’s a highly versatile tool that goes by a few different names: reflector, diffuser, disc, magical reflective circle-shaped photographic device (Tell me I’m not the only one who has called it that). If you haven’t used one yourself, no doubt that you’ve seen others utilizing them at your favorite location. No, those clever photographers aren’t trying to get attention with their trending gear of the week or rubbing it in your face that they have an assistant to hold it for them.

Pro-tip...It’s always a good idea to have a verbal commitment from a potential romantic partner that they will double as your photographic assistant before beginning a new relationship. But, if you're the independent type, there is a reflector holder and stand that works just as well. Back to the point. What exactly do these tools do and why is it helpful to have one in your arsenal?
These amazing, light throwing/diffusing wonders were invented to combat tricky lighting situations exactly like the one mentioned above. They come in a variety of sizes and reflective materials to suit every lighting situation under the sun. Let’s take a look at the most common ones.
First, you'll have to select a surface color.
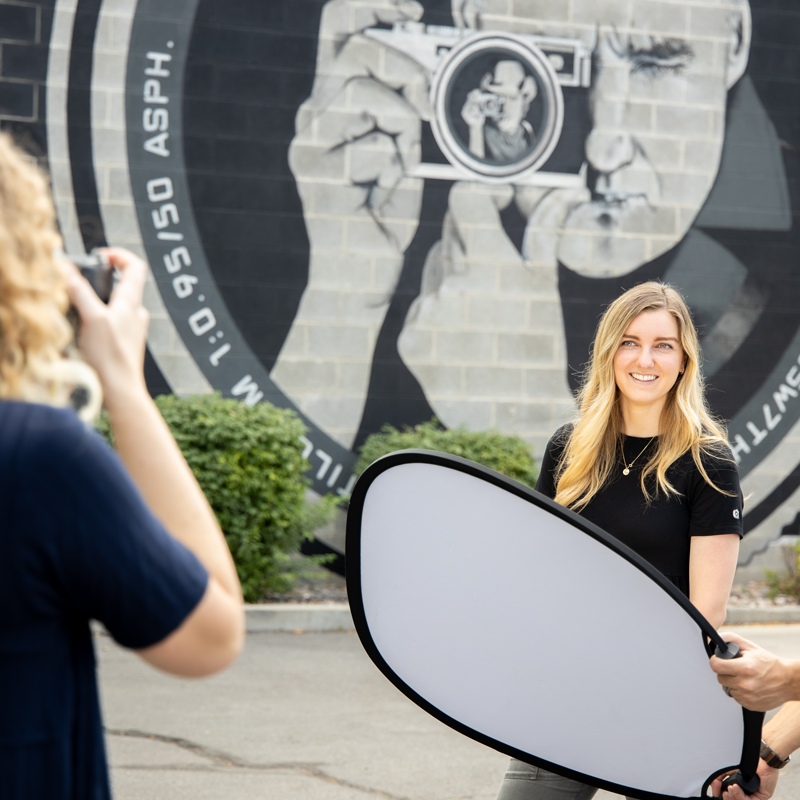
White reflective
The white reflective option is going to give you the softest light from your disc. Because this is the least reflective, it is most often used in close proximity to your subject. One common practice is to have your assistant or subject hold it below their face to eliminate or drastically reduce harsh shadows beneath the eyes that are caused by overhead sunlight.

Silver reflective
The silver reflective option is going to bounce or throw much more light than the white reflective surface. This is very useful when you have found that perfect shaded area but there is not enough light falling on to your subject. You will also notice a bit more of an “edge” to the light hitting your subject coming from a silver reflective surface.

Gold/Soft Gold reflective
These options are going to produce a very similar result to the silver option, but also will add a warm tone to the light it’s bouncing. While it has become very easy to warm your image in post-processing, having the option to warm up the light that is hitting your subject without changing the color temperature of the scene behind them can offer a unique feel to your photograph. Now every hour can be golden hour!

Diffusion
Unlike the surface options mentioned above, this disc is not used to bounce light. Instead, it is used between your light source (most likely the sun) and your subject, in order to diffuse or soften the light that is falling onto them. Another great benefit to this choice is that it can be used around trees to soften the dappled light that occurs when sunlight shines through leaves.

I know what you’re thinking. “Won’t each of these be useful during my photographic journeys?” Of course! Luckily for you and me, the manufacturers of these reflectors offer multi-disc options so you don’t have to make several purchases in order to have them all. These typically come in what's called a 5-in-1 or 6-in-1 set.

Next, you'll have to select a size.
The general rule of thumb is to choose a disc whose size is relative to the size of your subject. I always recommend favoring a larger size over one that might be too small.
- Headshots - 20”
- Half body - 32-42”
- Full body/couples - 52”
- Groups of 3 or more - 41x74”
Once you've become familiar with using these tools, you can go out in the middle of the day with confidence, knowing you can control the light instead of letting it control you. So go ahead and pencil in Aunt Lucy for that one o’clock slot. Just don’t forget your magical reflective circle-shaped photographic device on your way out the door.