
When it comes to balancing a gimbal, most people feel intimidated and ultimately become frustrated when they can't get it right. We find ourselves walking people through the balancing process here at the store on a daily basis. For a quick tutorial, DJI Rep, Brett shows us how it's done on the DJI RS 3 Mini.
So let's get started:
Prepare For Balancing
Straight out of the box, you'll have your gimbal, tripod mount, and quick-release plate. When you get the gimbal and tripod together, there are two locking positions, one for balancing and one for storage.
The first step is making sure the locking positions are unlocked and ready for balancing. The locks are located in three different areas on the arms: the top, middle and bottom motors.
On the bottom motor, once it's unlocked, move it out to the side and re-engage the lock. This will feel like it's free-floating until you lock it into its next position. Repeat the same process for the next two motors.
Once completed, attach the quick-release plate to the bottom of your camera. Important tip: Install the camera plate as far forward as you can and tighten it down.
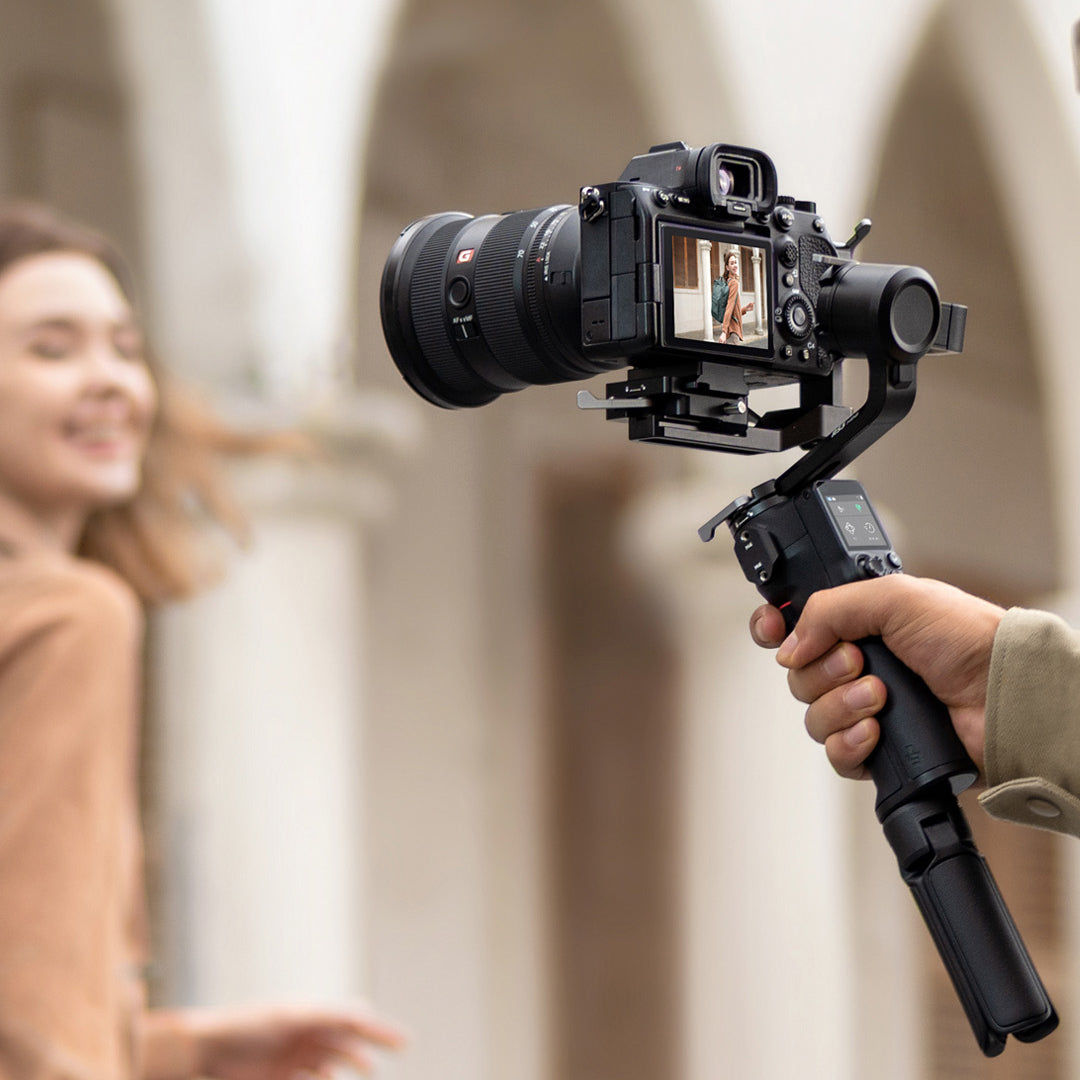
You will insert the camera onto the DJI RS 3 Mini gimbal. DJI labeled this area with a camera icon. You will insert the camera from the front and slide it to the back. Once it's all the way back, use the lever on the side to lock it into place.
Next step, find the red lever. This will allow you to slide the camera from left to right. We want to slide the camera all the way to the side closest to the gimbal arm.
Balancing the DJI RS 3 Mini
There are three motors on the DJI RS 3 Mini gimbal located from top to bottom: the tilt motor, the roll motor, and the panning motor. It's important to balance the gimbal in that order. This is a three-step process for balancing.
The Tilt Motor
You'll unlock the lever and hold the camera straight. When you let go of the camera, if it falls in one direction, you simply need to move it in the opposite direction. If it ever falls, that's your tip that it's not balanced properly. You want to camera to stay perfectly level. To do this, use the level to unlock and slide the camera either forward or back and lock it into place. Continue this process until the camera stays perfectly straight and level. Once you become closer and closer to being balanced, small adjustments are important.
One quick tip, if you are using a zoom lens on the gimbal, we recommend setting your focal length to the middle range. If you balance it either at the widest focal length or completely zoomed out, it could affect the gimbal's balance performance while you're shooting.
Next step, point the camera up toward the ceiling. If you had any small mistakes when balancing straight forward, you should be able to fix them after this step. If you lift the camera up, this helps get rid of slack and allows you to slide the camera back and forth better. Loosen the lever and repeat the process of sliding the camera in the best position to where the camera stays straight up without tilting or falling.
When you put the camera back in the straightforward position, it's normal for it to be out of balance again. Go ahead and re-adjust. By this time, everything should be properly adjusted and when you point it up or straight forward it should stay in place.
The Roll Axis
Now we will move on to the second motor, the roll axis. The lock is located on the bottom side. Once unlocked, you notice the camera will fall in one direction. Same as before, we will loosen the lever, lift our camera up and start sliding the arm. Periodically check to see if the camera becomes level. Once balanced, lock into place.
The Panning Axis
The last motor is the panning axis which is located on the bottom of the gimbal. You will unlock the switch. On a flat-level surface, you will tilt the gimbal to one of the gaps in the tripod legs. You will aim the camera forward and let go. If it rotates to one side it means there is too much weight on the front side. You will loosen the lever and slowly slide the camera back. Once balanced, lock into place.
Calibrating
Make sure all the locks are unlocked before you start shooting. Push and hold the power button to turn the unit on. We will be fine-tuning the motor strength of our camera setup. Tap on the top-left icon on the LCD screen. Which will bring you to a new menu. Make sure you are on a flat level surface and push, "start calibration." It will vibrate and at the end, it will make a really loud noise. Now you're ready to start filming!