
As an aside from our main workflow, before we discuss the Detail Panel in Lightroom’s Develop module, let’s discuss the basics of a Lightroom Sharpening workflow. A sharpening workflow generally consists of three different types of image sharpening: capture sharpening, creative sharpening and output sharpening. The gist of a sharpening workflow is to limit the amount of sharpening we add to the image until it has been resized for final placement. If you sharpen an image early on in the workflow, then digital artifacts could show up when the image is resized and sharpened again. Hence, a good sharpening workflow saves the heavy sharpening until the very end, just before the image is placed into layout. Let’s start our discussion of this crucial workflow with capture sharpening and work our way through these three types of sharpening.
Capture Sharpening
Capture sharpening is a sharpening method by which we counteract the blurring of the image produced by the anti-aliasing filter (A.K.A. the Low Pas filter), which sits just in front of the CMOS sensor in most DSLRs. Most DSLRs these days have a low pass filter or series of low pass filters that blur the image slightly to counteract digital artifacts (like Moiré) that might otherwise appear in the image. In Photo 1 below, we have a diagram of the two low-pass (anti-aliasing) filters in the Nikon D800.

This is a diagram of the sensor array in the Nikon D800. Notice that there are two low-pass filters, which are also known as anti-aliasing filters, in front of the CMOS sensor. These low pass filters blur the image slightly to reduce digital artifacting.
So, at this point in the sharpening workflow, when working up a raw image, we only want to add a small amount of "capture" sharpening to bring the image back to what it would look like if there were no low-pass filters in front of the sensor. The non-intuitive part of all this is that some cameras have stronger anti-aliasing filters than others so the amount of overall sharpening I use for my Nikon D4 and D800 may not be the same that you should use for your cameras, especially if you shoot with Canon cameras—which seem to have slightly stronger anti-aliasing filters than most Nikons. If you happen to own a Nikon D800E, note that it does not have an anti-aliasing filter and hence, no capture sharpening is needed.

Here is a screenshot of the Detail Panel. I have highlighted the sharpening sliders in red. Note that the sharpening sliders in this screenshot are at their default positions, which is where they should be set for capture sharpening.
The Lightroom default settings for sharpening are as they appear in Photo 2 above: Amount = 25, Radius = 1.0, Detail = 25, and Masking = 0. In terms of capture sharpening, I have been told by the Adobe engineers that the default sharpening settings here in the Detail panel represent the best amount of capture sharpening for each camera. Hence, even though the slider numbers may be the same they actually represent a different amount of sharpening for each raw file depending on which camera the image was shot with. These numbers introduce a very slight sharpening affect that is conservative. Hence, the thing to remember here is just to leave these sharpening sliders at the default settings to add capture sharpening to your image. The Adobe engineers have already done all the work for us. Any additional sharpening that needs to be done on the image can be done in the output sharpening.
[Please note that even if you have sharpening turned on in your camera it only affects jpegs. If you are shooting raw images there is no sharpening applied to those image files. I have sharpening turned off in my cameras at all times since I only shoot raw images.]
Creative Sharpening
Creative sharpening is any sharpening that is added to an image to accentuate one part of the image more than other parts of the image. An example of this would be to sharpen the eyes slightly in a portrait image. If you choose to add creative sharpening to an image I would not get too crazy because the odds are good that the sharpening will be visible in the final image if you overdo it.

As an example of creative sharpening, in this image I have created a mask over the eyes of my subject with the Adjustment Brush tool in the Lightroom Develop module, and I have added a very slight amount of sharpening only to the subjects eyes.
Output sharpening
In contrast to capture sharpening, output sharpening is the sharpening done just prior to printing, after resizing an image or for any other output purpose. This is generally a much stronger treatment than capture sharpening. The amount of output sharpening also varies according to how the image is output. For example, you would add less sharpening to an image that has been resized for the web than you would for an image that is going to be printed. Lightroom has output sharpening in the Print and Web modules. Note that output sharpening is the last thing you do to an image in any workflow and it is typically done when the image is resized in any manner.

Above is the Lightroom Export dialog and I have outlined in red the Output Sharpening section of this dialog. By clicking on each of the two toggles in the Output Sharpening section you can see that there are options for Screen, Matte Paper and Glossy Paper and also Low, Medium and High sharpening options. In terms of the settings I use, a Medium amount seems to always be the right amount of sharpening in my testing.
Of course, output sharpening can also be done in a variety of ways in Adobe Photoshop. When I make fine art prints, I always apply the final output sharpening in Photoshop using either the High Pass filter or the Smart Sharpen tool.
Wrapping Up Lightroom Sharpening
In the end, I highly recommend holding off on any extreme sharpening until you have resized the image at the very end of your digital workflow process. I only add capture sharpening to my images when I work them up in Lightroom. When a client calls for an image or when I get a call for a fine art print, at that point I can ask what size the image will be used and then I resize the image and sharpen it according to the use. Often the client will add sharpening to the image once they resize it for layout in a magazine or elsewhere.
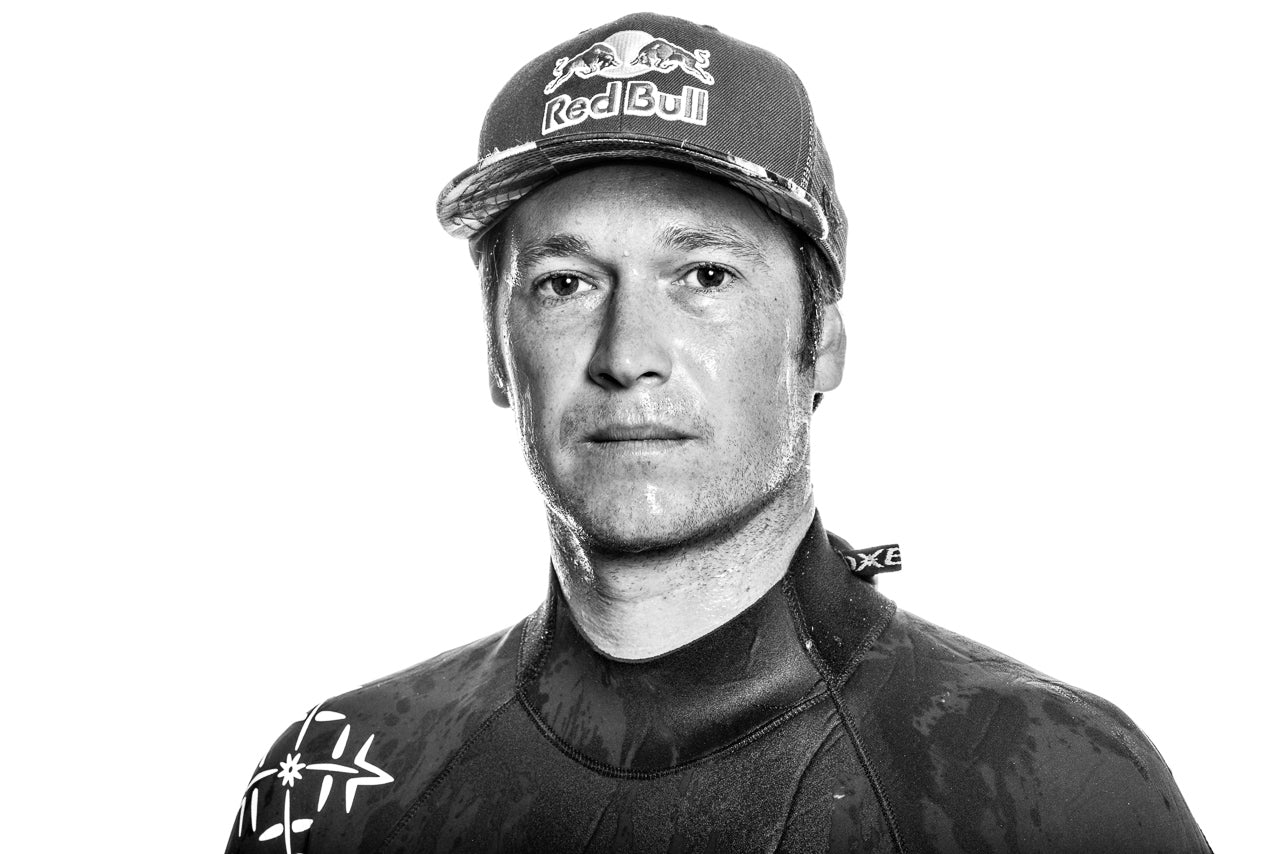
 Levi Siver - Portrait, Michael Clark Photography[/caption]
Here is an image that was exported from Lightroom with the Output Sharpening settings set to Screen and Medium. If you click on this image to see it at the full size of 1280x854 pixels it will look quite sharp.
Sharpening can be also be a very difficult thing to quantify. If you do not have a lot of sharpening experience using the Unsharp Mask or Smart Sharpen dialogs in Photoshop, it can be very difficult to figure out how much sharpening is too much or too little. The best way to test your sharpening is to print the image. If there are white bands or halos in your image that indicates that you added too much sharpening. If the image in the print still looks soft then you added too little. Of course there are also different tastes when it comes to sharpening. Some folks like a crisp, sharp image while others think a softer feel is nicer. In the end it is up to you. If you are not very experienced with sharpening, especially output sharpening, then I highly recommend using Lightroom’s Output Sharpening tools as shown above. Lightroom does an excellent job of applying just the right amount of sharpening for almost any given circumstance.

This blog post is a modified excerpt from my e-book, Adobe Photoshop Lightroom: A Professional Photographer’s Workflow. For more information on this e-book or to purchase the e-book please visit my website.
KEEP UP WITH MICHAEL:
Website | Blog | Workshops | Facebook | Twitter | Instagram |
Google+ | Behance