
Dark skies are becoming increasingly rare. From 1947 to 2000, we've seen an increase of approximately 6% in light transmission per year. This light pollution has made it hard for astrophotographers to get true shots of the Milkyway and even though street lights produce the majority of light pollution, even wilderness areas are becoming affected.
The Bortle Scale
The Bortle Scale was created by astronomer, John E. Bortle, in 2001 to measure the brightness of the night sky. Using light pollution measurements from on the ground and in space, a virtual map of light pollution levels was created. This scale is an excellent tool for astrophotographers who want to know what areas will give them the best results. The Dark Site Finder website is one major resource that can help you determine light pollution levels across the U.S.

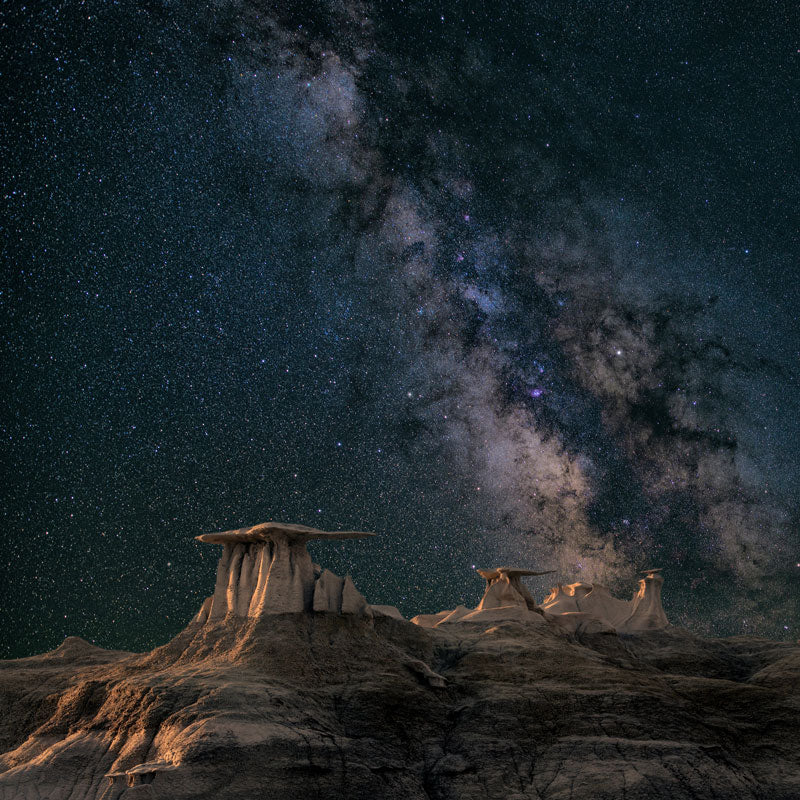
The Milky Way can be seen from March to early October and choosing your location carefully can make all the difference. Too much light pollution can make it impossible to see the Milky Way. Aim for areas with a Bortle Rating of 1-3. Another thing to consider is the moon phase. It's best to shoot when there is no moon present so shooting close to when there is a new moon will give you the best results. Although, you can still shoot the Milky Way as long as the moon is less than 25% illuminated.
Apps like Photopills and Stellarium help you plan when and where to shoot. The Milky Way is oriented southeast in the spring and moves southwest by autumn. In June-July the Milky Way is visible all night long and from August-September, it's best photographed between 10PM-Midnight.
The Right Gear
Having the right gear is essential to astrophotography. We recommend shooting with a full-frame digital camera but what really matters is your lens. Typically, astrophotographers and night sky shooters use wide-angle lenses. In general, zoom lenses with wide apertures like an F/2.8 or faster are ideal. For example, lenses like a 16-35mm F2.8 or 14-24mm F2.8 are great options. Since the depth of field is limited at wide apertures, be aware of soft foregrounds. If you shoot close to the ground, focus stacking will be necessary to get sharp results.

Get to Know Your Camera
Make sure you know how to use your camera in the dark. You might want to practice before you head out on a shoot. If you are going to be shooting with other photographers, cover the lights on your camera with Gaffers Tape. These lights can ruin other people's shots. Another important step is knowing how to switch your lens from autofocus to manual focus and turn off any in-body stabilization. Remember to shoot in RAW! This is extremely important for post-processing.
Once you're comfortable with your camera and settings, find the Long Exposure Noise Reduction (LENR) setting in your menu. LENR enables a second dark frame exposure after the live exposure. The camera will then subtract the dark frame noise signature from the live exposure. This also helps reduce hot pixel noise which can happen when the digital sensor gets too hot due to long exposures. Keep in mind, using LENR will double the exposure time.

We recommend experimenting with ISO on your camera to find out where noise becomes too high. We recommend staying below an ISO of 6,400 but with some of the newer cameras, you might have the ability to push it even higher.
When using manual focus, you'll want to set it to infinity focus. Although, true infinity focus is usually not where the mark is on the focusing scale. We recommend practicing beforehand with your lens to try to determine where the true infinity focus is. One tip on how to do this would be to use LiveView and zoom in digitally on the brightest star, then turn the focus ring until it's tack sharp. If you zoom and change your focal point, you will have to focus again.
Since the stars move, there is a limited amount of time before they will begin to create a star trail. The NPF Rule takes into account the pixel pitch of your camera and aperture. NPF: (35 x aperture +30 x pixel pitch) / focal length = shutter speed. Apps like PhotoPills can calculate this for you so you know exactly how long your exposure should be.
Many photographers who shoot RAW will leave their camera set to Auto White Balance. This is fine since it can be adjusted in post-processing, but we recommend a white balance of 3400-3500K because it provides a more accurate color representation. Another point to keep in mind is that your LCD screen will look brighter in the dark unless you dim it all the way down. To be sure you have the right exposure, we recommend using the RGB histogram.
For any additional questions, ask in the comments below! Hope this helps and happy shooting!