
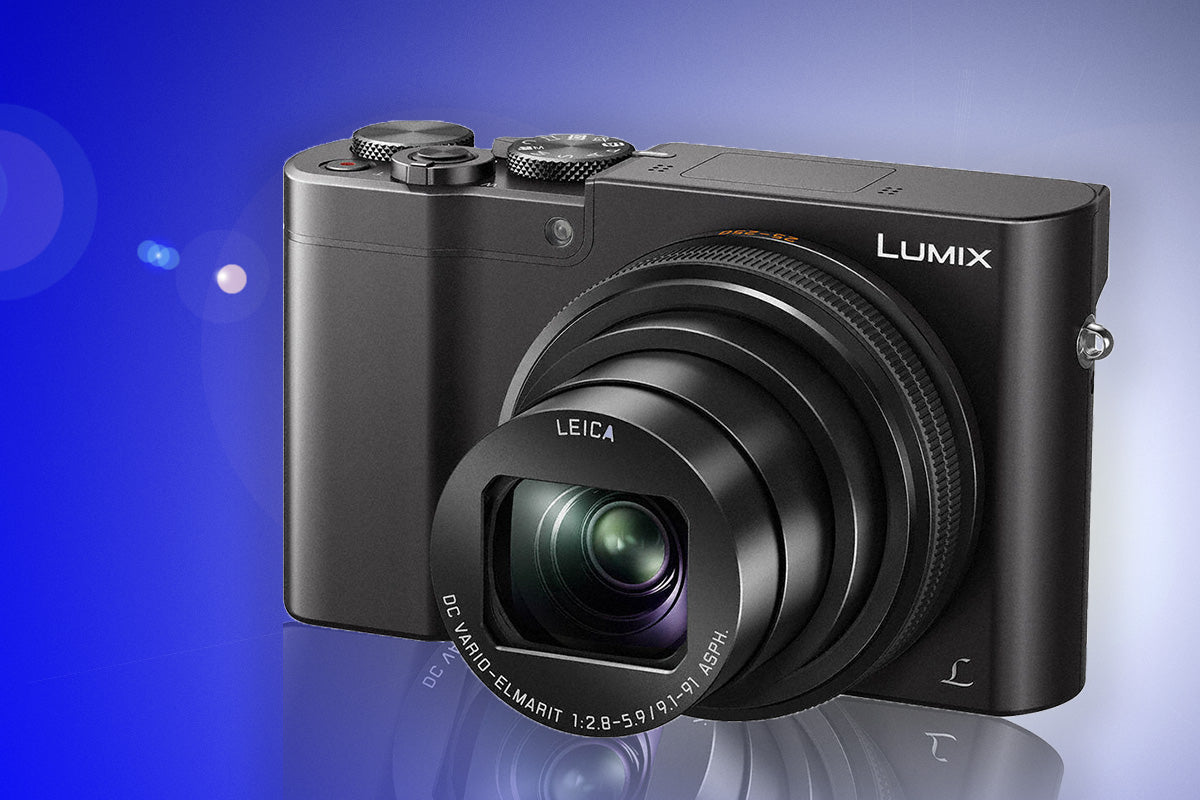

Over the years, I have owned multiple point and shoot cameras from nearly every brand. The features are always decent for the price, but they are typically reserved for use on vacation or at family events. Recently, pictureline asked me to take the Panasonic DMC-ZS100 on my last photography trip to Southern Utah. Spoiler alert: I was actually very impressed with the camera.
My name is James Cawley, I am a cinematographer/photographer, Zeiss Lens ambassador, and own Centerstar Marketing, a video production company based out of Utah specializing in cinema quality productions. Last week, I was headed down to Capitol Reef and Bryce Canyon to do some landscape testing with Zeiss CP2 lenses and was able to borrow the brand new Panasonic DMC-ZS100 to review for Pictureline. The camera itself promised some pretty hefty features for its minimal price under $700.
The first night of the trip I arrived at Goblin Valley State park a little after midnight with the intension of capturing some night sky timelapse and photos with my Canon EOS 5D MKIII, and Sony A7s ii. This was a great opportunity to see how the Panasonic DMC-ZS100 would fare under the same conditions. I had charged the ZS100 on the drive. It comes equipped with a handy USB 3 charger, as most modern cameras do. This feature has really become a must for anyone doing any kind of travel or journalistic photography and it was nice to see that it was available on this camera. On first impression, I was a bit frustrated with the menu. While trying to match the manual settings to my Canon and Sony, I could not find an ISO control while navigating the camera. High ISO is essential to support astrophotography. Upon closer inspection, Panasonic coined the menu setting "Sensitivity" rather than the DSLR-standard "ISO."
I set up the camera on the tripod and adjusted its "Sensitivity" (ISO) doing several tests between 1000-3600 both with and without the ‘post noise control" feature. From my testing over the week the ZS100 is not an ideal camera for astrophotography. That is not very surprising for a point and shoot.
Feeling a bit discouraged from the lacking night performance of the ZS100, I felt a bit hesitant to work it into my morning lineup for sunrise shots. Pushing through my sleep-deprived hesitation I setup the cameras and was very glad I did! As the sun rose over the desert landscape painting the red rocks with reds and golds, the little ZS100 quickly became my primary camera. I had a timelapse going with my Sony A7s ii and was shooting handheld with my Canon MKIII and the ZS100. The 100-400mm L Series lens on my MKIII was looking good, but I was getting just as good shots with the point and shoot. Better yet, I could get much wider shots in addition to the optical zoom telephoto shots making it a very versatile choice. It wasn't until later when pulling up the photos on my laptop that I realized that the quality of most of my shots were very comparable between the cameras. At that moment, I knew I would use this camera and could rely on it for pro images.
After getting through the initial hiccups of using/navigating the UI of a new camera over the next week of my trip I became aware of many pros and cons of this camera.
My Overall Thoughts - Would I Buy This Camera?
Point and shoot cameras always have a place in any photographer’s gear bag. For the price and features that are included I would say, YES, I would absolutely buy this camera and use it often. Despite some quirks and getting to know the camera it has some very powerful uses that set it apart from my normal gear.
The thing that impressed me enough to want to buy the ZS100 was the size, quality of images, lens quality and ability to capture 4K video clips. The other features are very notable, but when it comes down to it the image quality is what sold me. For under $700 you will not be disappointed if you understand it’s capabilities.
 Post Focus
This was one of the features that I was very excited to try out, and it is very handy within its limits. The concept is that you take a photo and then afterwards you can adjust what is in focus and what is out of focus. Think about all the times you took a great photo only to realize that it was slightly out of focus. This camera offers a solution to mitigate that.
How it works. The "Post Focus" mode is activated in the main menu of the camera. When active, the camera will take the initial photo and then perform the "Post Focus" process. After this is complete the user can choose what part of the photo they would like in focus on the LCD screen.
This is great and the technology is really amazing! However, there were a few issues with this that made it undesirable for my use in some situations. The main issue is that you cannot shoot Post Focus photos in RAW modes, only in JPG. This is because the post focus relies on shooting a short MP4 video clip to capture the different focal lengths after the initial photo. You can then choose from a frame of that video the focal length desired. Keep in mind as well that you have to make this choice in-camera, you cannot choose your focal length on your computer once transferred.....so don’t format that memory card until you have had time to check!
When going through my shot video clips the first time I was shocked at the amount of MP4 clips that were recorded as I did not remember shooting that much video. These were the short 1-2 sec clips generated from using the Post Focus setting and I then had to scrub through and find my actual video clips which was a bit frustrating.
4K Photo Modes
This is an interesting feature that allows the user to shoot up to 30 photos per second in 4K resolution (3840x2160) for up to 15 minutes! This could really be ideal for anyone who shoots sports or fast action subjects. There is an additional feature called "4K Pre Burst" that will shoot 30 photos before you press the shutter and 30 photos after the shutter is released, ensuring that you capture the moment your looking for.
These are great features and I am guessing they work very much hand in hand with the 4K video recording capabilities that the camera offers (such as pre buffering and post-buffering shots). I would compare it to grabbing a screenshot from a video clip as the quality is reduced to 8MP when in these modes instead of the 20MP available in normal photo modes.
I hope this review has helped you in your adventure to find the perfect camera! For more reviews, photo and filmmaking adventures check out my links below;
Watch on YouTube:
http://www.youtube.com/ExploringFilmmaker
Instagram with me:
http://www.Instagram.com/JamesDCawley
Let’s be Facebook Pals: