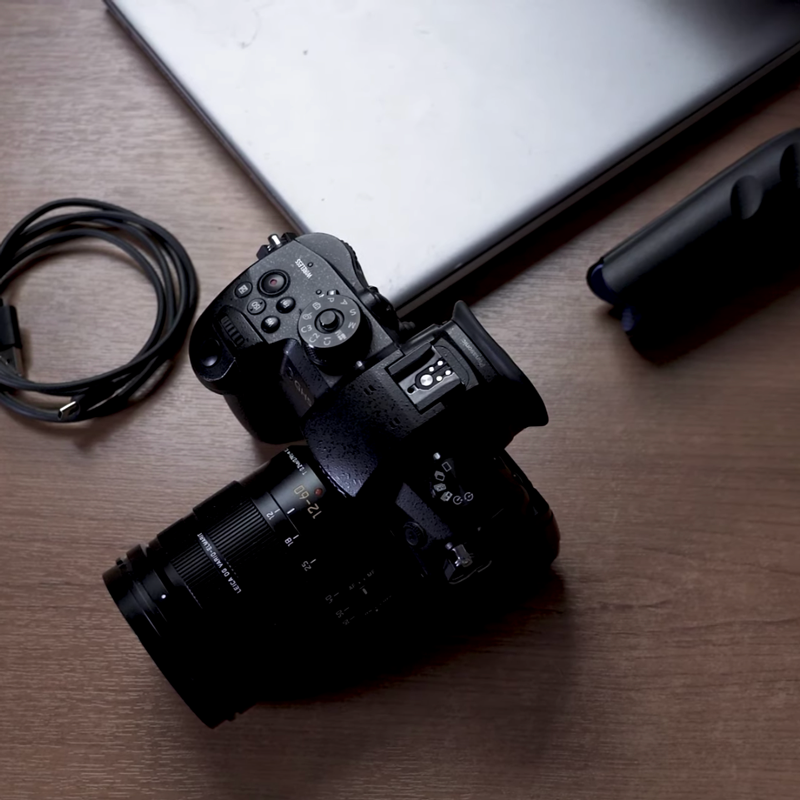
It’s not too late to step-up your live-stream content quality! Introduced earlier this month, LUMIX Tether for Streaming (Beta) offers some significant enhancements over the earlier version of the software to help improve its usability. This beta software for Windows is based on LUMIX Tether Version 1.7, and provides an additional display option specifically for live-streaming.
Originally designed for tethered shooting, previous versions of LUMIX Tether software displayed Graphical User Interfaces (GUIs) such as focus marks and control panels with the live view images on the PC monitor. However helpful these GUIs are while shooting, they quickly become a distraction during a live-stream session. In response to customer demand, Panasonic developed a new Live View mode available as part of the LUMIX Tether for Streaming (Beta). This feature enables the display of the camera view only, and users can choose to either show or hide the graphics on-screen.
Before you get too far setting up this new version of software, make sure you have one of Panasonic’s compatible camera models:
To get started using this software, here’s what you’ll need:
- Compatible camera
- Windows 10 operating system
- Intel CPU of 1GHz or higher
- 1024 x 768-pixel display
- 1GB or more (32bit), 2GB or more (64bit)
- RAM Free space of 200MB or more for installation
- USB 3.0/3.1 interface
Installing and configuring this new software is as easy as connecting a cable and changing a few settings:
Panasonic Live Stream Webcam Instructions
Step 1: Make sure you have a compatible LUMIX Camera:
DC-GH5, DC-G9, DC-GH5S, DC-S1, DC-S1R, DC-S1H
Step 2: Make sure you have the compatible USB interface cable for your camera o DC-G9 requires a USB 3.0 Type B connection. All other cameras listed above are USB-C.
Step 3: Download the LUMIX Tether for Streaming Beta software, here.
Step 4: Make sure your camera is up to date with the latest firmware
Step 5: Connect your camera to the computer
Step 6: Select “Tether” from the USB connection menu displayed
Step 7: Put the camera into “Creative Video” mode and select your frame rate.
Step 8: Make sure Continuous AF is set to “Mode 2” to enable focusing while in standby
Step 9: Open the LUMIX Tether for Streaming Beta software
Step 10: Click the “LV” button on the control window followed by the “Square icon” on the top left of the video preview window to remove the UI from the video feed. From this point, you can use software like OBS to take the video “Live View” screen preview as an input source to stream to your platform of choice.
** IMPORTANT NOTE: Video over USB does not support audio from the camera. In order to record or present audio with the stream, users should have a separate USB microphone input source**

