
Today, we go behind-the-scenes with food stylist/photographer, Suzy Eaton. With so many of us cooped up at home, food photography is an excellent way to express your creativity.
My Journey with Food
I’ve always drawn and painted since I was young, and I knew I wanted to do something creative in my career. I’ve had a lot of jobs in my life, including painting in people’s homes. I did faux finishes and murals as a side gig for a bit and even wrote a book about decorative painting.
It was at this time, around 18 years ago, that I had volunteered my time to work on a Christmas charity project painting small structures to look like brick and other fun things. The woman that headed up the charity also had a publishing business. She did “how-to” craft books and offered me a job as her photo stylist—I didn’t even know what that was! But I soon learned how to prop and style product and then started decorating big sets for videos. I loved what I did, but unfortunately, her business took a different turn and we were all left without jobs.

It was a pivotal time for me to decide whether to go back to the corporate world or do what I loved, which was styling. I decided (obviously) to take the styling road. It was terrifying! I knew that if I were to work enough, I needed to be able to do everything. So I added food to my repertoire, thinking it wouldn’t come up very often—but I was mistaken. I started getting calls to do food styling and kind of panicked. But I knew it really was just another art project that I could figure out, and eventually food styling just took over. There was a demand for it and not many people could do it. Over the years I was able to find contacts in Los Angeles, Las Vegas and all over the country, so I travel a bit and work in other cities as well.

I love the variety of the projects I work on and still do set decorating, propping and wardrobe styling in addition to food styling. I style for both photography projects as well as video projects. A few years ago, as social media was exploding, I decided I need to be a part of that too, so I could share photos, make connections and learn from others. But I soon realized that it was difficult to get enough content to post. Tracking down images I styled on other shoots was tough, and frankly, not everything I styled was “post-worthy.” I started to wish I could take my own photos, and I finally mustered up the courage to dive into learning photography.
I bought a camera and asked someone to show me how to use it. I took some basic classes at Pictureline that helped me a ton. I started practicing and continued to learn. With my busy schedule, I could rarely shoot during the day, where the light is. So, I took an online class and learned how to shoot with a flash. I just keep shooting and learning and shooting and learning. It will never end because I will always want to learn more and get better and better. I love taking my own photos and want to help you do the same! So let's get into my five tips when it comes to food photography.
1. Invest in Lenses
The best equipment is the equipment you have! You can make beautiful photos with the most basic camera—you just need to know how to use it. It’s so tempting to run out and get all the best or newest equipment. But becoming a food photographer is like anything else—it's a marathon, not a sprint. Just slowly buy the things you want as you can afford them.

My suggestion would be to invest in lenses. The camera I bought came with kit lenses, and they worked fine, but when I started buying good lenses, I noticed a difference in the clarity of my photos and my ability to get perfect focus. My first lens was a Nikon 105mm micro because that’s what I saw some of my photographer friends using. But I soon realized that because I have a cropped sensor camera, I didn’t have a true 105mm lens. I sold that lens and purchased a Nikon 60mm micro lens instead. I shot with just that one lens for a while but struggled to try to shoot anything wide. I researched and read about what people were using and decided on a Nikon 24-70mm f/2.8 lens. I love this lens and it’s perfect for what I do.
2. Start Tethering
The absolute best advice I can give to save you stress and heartache is, to tether. I didn’t realize how hard I was making my life, trying to assess the photo in that small window on the back of the camera, or pulling the memory card out and putting in the computer, downloading and checking it out over and over again, all while the food sits there, dying.

Tethering is the most efficient thing I’ve done. I can immediately see my image on a large screen within seconds. This is especially helpful when shooting overhead, where it’s difficult to see the back of the camera and adjust the settings. Remember to check your food and refresh it if necessary. And never front-light your food! It will look flat and without texture or dimension.
3. Make Mouths Water with Lighting
Once you’ve decided to focus on food, it’s important to set up a good shot. My top tips for setting up are:
- Make sure the food looks good, of course.
- Keep the food in focus! It sounds obvious, but until you really start zooming in to your photo to check, you could be very disappointed. I can’t tell you how many times I’ve shot some intricate setup that I was so excited about, thought I nailed it, tore the set apart and started to do my post-work only to realize none of them were in focus, or the focus is in the wrong place.
- Lighting is the most important part of food photography. I can shoot the same thing in bad lighting or beautiful lighting and that will make the difference between a flat, off-color photo, or the kind of photo that makes you hungry. I learned online from Joanie Simon from @thebiteshot. She has great courses that helped me come up with my current lighting setup, which is a speed light and diffusers. I use a 47” octagon softbox/reflector with my speedlight inside of it, and a 5x7 collapsible diffuser for softer light. I use c-stands to hold cards, lift backgrounds up to hold behind the set, and that’s what I use for my overhead shots. You can buy a special bracket to hold your camera on the c-stand.
- You need to be able to color correct and fix your photos up a bit where they need help. I use Lightroom right now, but I’m also learning Photoshop.

4. Plan Out Your Shot
I actually made most of the backgrounds and surfaces I use for food photography. I make wooden surfaces with fencing and nail them together, or just paint flat boards. Just this week, I made a cement surface with repair cement that you can get at the hardware store. I have purchased vinyl replica surfaces too. They are good, lightweight options for overhead shots. I have also found some great table tops, vinyl flooring and old vintage wood pieces that work well for surfaces.

Having been in the business for 18 years, I have quite the collection of props, as you can imagine. I would say that the things I couldn’t live without a large variety of cutting boards, linens and napkins. I also like to keep a bunch of platters and casserole dishes as well as plates, glasses and silverware. And don’t forget to consider color. For example, if you want a soft warm photo, make sure everything you choose will add to that feel. These would include reds, yellows, browns and tans. You might have some heavy objects, like cutting boards and antiques you can put in there to help with that feel. If you want a cool feeling photo, choose blues, greens, violets, pinks and grays. You might add linens and flowers.

Having a plan will save you time while you’re styling. When deciding what to shoot and how to shoot it, think about the dishes you want to use. Will it hold all you want to put on it without being all mushed up together, or is it too big and will make the food feel small and lonely? You don’t want to choose a dish just because you like it—sometimes the prettiest dishes just don’t make sense in a photo. The dishes need to be appropriate for the food that is being served on it.
Do some test shots first to see what works and what doesn’t. How will the color of the dish look on the surface? How will the color of the food look on the dish? Do you want a monochromatic look, or do you want contrast? You can draw it out if that helps you, or do a quick little mock set up, but what I do, and what we always do on a commercial shoot is, send in what we call the “Stunt Double.”

Quickly make up a not-so-styled version of your dish. Set that in until you get your composition and your lights the way you want them. Then go style the food fresh, and switch it out with the stand-in. I always buy two of every dish, one for the stunt double and one for the hero. This way the sizes and colors will match and the set won't change. I also buy extra food so I have choices or extras in case what I have “dies” out or doesn’t turn out the way I’d hoped.
5. Prep the Product
You can save time and heartache as a food photographer by doing some simple prep work. Just before you’re ready to start your project, pre-cut vegetables (not fruits) and store in a bowl of water. Pre-make sauces and allow them to cool to room temperature—this will avoid skins forming. Cut citrus and put in a pan with water. Pre-cook meat, but not too soon. And if you’re going to be cutting the meat, wait until just before you shoot it, as it tends to get dry and change color quickly. Most importantly, keep your food looking fresh!

You can keep things from looking dry by either brushing them with oil or spritzing with some water, depending on the food item. Replace greens that have wilted, stir soups and sauces that may have changed color or formed a skin. It’s a lot of work to be the cook, stylist and photographer, which is why there are usually both at a commercial photoshoot. But, more and more, we are wearing all of the hats.
My advice to those interested in breaking into the food styling world, or food photography would be to practice, practice, practice and never stop learning. Network by putting yourself out there and meeting others in your field or potential clients. Attend conferences and workshops. Get your online presence going by posting your photos and engaging with your followers. Collaborate with fellow foodies and share your talents with each other. Share your strengths with someone that may have strengths you haven’t mastered yet. Reach out to clients. Send emails or call them, introducing yourself and share your intentions of working with them, then follow up.

But most importantly, having a great portfolio with the kind of work that would impress clients is imperative. Before I started shooting for myself and before I had enough work to showcase, I got together with a photographer and we did a shoot just for portfolio work. I showcased the photos to show my styling and he showcased them to show his photography.
In your spare time, create images that you can use as an online portfolio or even something you can print and hand out when the opportunity arises. Come up with your own style and system and work on perfecting that. And don’t forget to give back. As you go about your journey and work on your trade, you will solicit the help of others whose assistance will be priceless to you. Make sure you don’t forget that when you are in that position where others look to you for your help.
For more styling tips, including what’s in my kit, check out my blog suzyeatondesigns.com, or check out my first online food styling course, here.
Enter the promo code PICTURELINE for $100 off from now until May 15, 2020.
For more about Suzy and her food photography, visit the links below:
Website | Instagram | Facebook | YouTube

About the Author
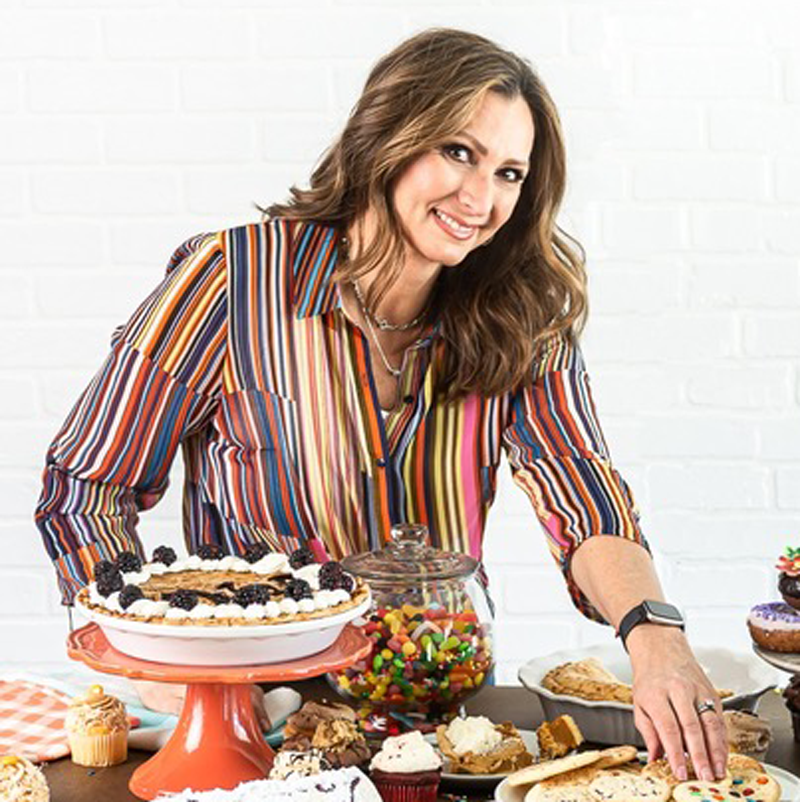
Suzy Eaton has been a professional food stylist for over 18 years. Her work is seen in commercials, magazines, menus, movies, billboards, cookbooks, and even on the sides of buses. She has worked with clients including Cafe Río, Dreyers Ice Cream, Jimmy Dean, Target, Wynn Resort & Casino, Fox and NBC television stations, among others. Suzy also offers online food styling courses to help aspiring food stylists and food bloggers improve their food styling skills.
1 comment
Victoria Addington
https://jessicaboone.com/about-me